Step 1: Set Up Your eBay Account
Create Your eBay Account
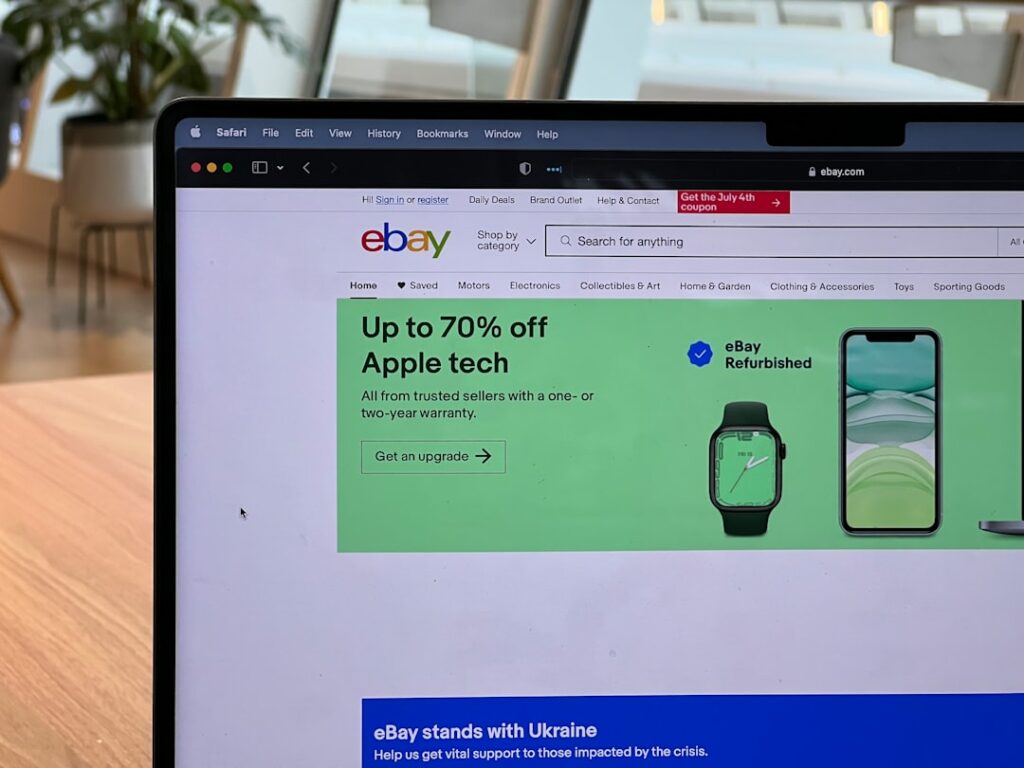
To begin your journey as an eBay seller, you first need a personal eBay account. If you don’t already have one, navigate to the eBay homepage (www.ebay.com) and click the “register” link, usually located in the top-left corner. You’ll be prompted to enter your name, email address, and create a password. Alternatively, you can register using your Google, Facebook, or Apple account for a quicker setup. Ensure the email address you use is one you check regularly, as it will be your primary communication channel with eBay and buyers.
Choose Your Seller Account Type
Once your basic account is created, you’ll need to set it up for selling. eBay offers two main account types for sellers: a personal account and a business account. For most new sellers starting with a few items, a personal account is sufficient. To activate selling, go to “My eBay” and click “Sell.” You’ll be guided through providing additional details, such as your address and phone number, and linking a payment method for fees (like a credit card or bank account). If you plan to sell in high volume, operate as a registered business, or want to use advanced selling tools, consider registering as a business account. This typically involves providing your business name, type, and tax identification number (e.g., EIN for US businesses). You can always upgrade a personal account to a business account later if your selling activity grows.
Step 2: Prepare Your First Listing
Research What to Sell
Before you list anything, it’s crucial to understand what sells well and for how much. Use eBay’s “Advanced Search” feature to look up completed listings for items similar to what you intend to sell. Filter results by “Sold listings” to see actual selling prices. Pay attention to the condition of sold items, the quality of their photos, and their descriptions. This research will help you determine if your item has a market, what a realistic selling price is, and how to best present it. Consider starting with items you already own but no longer need, such as electronics, clothing, collectibles, or books. Begin with low-value items to get comfortable with the process before moving to more expensive goods.
Gather Necessary Information and Photos
High-quality photos and accurate information are paramount to successful sales. For each item, gather all relevant details: brand, model number, dimensions, color, condition (new, used, parts only), any defects, and included accessories. Take multiple clear, well-lit photos from various angles. Use a plain, neutral background to minimize distractions. Capture close-ups of any unique features, labels, or imperfections. Aim for at least 4-6 photos per listing. If selling electronics, show the item powered on (if applicable). For clothing, include photos of tags showing size and material. Store these photos and details in an organized manner on your computer or cloud storage, ready for when you create your listing.
Step 3: Create Your Listing
Craft an Effective Title and Description
Your listing title is critical for search visibility, and your description seals the deal. For the title, use relevant keywords that buyers are likely to search for. Include brand, model, key features, and condition (e.g., “Apple iPhone 13 Pro Max 256GB Sierra Blue Unlocked Excellent Condition”). Maximize the 80-character limit. In the description, provide a comprehensive and honest account of the item. Start with a brief overview, then detail its condition, features, dimensions, and what’s included. Be transparent about any flaws. Use bullet points for readability. Emphasize benefits to the buyer. Avoid excessive jargon or all-caps. A well-written description builds buyer trust and reduces post-sale questions.
Set Your Pricing and Shipping Options
Based on your research, decide on your pricing strategy. You can choose between an “Auction” format (buyers bid, item sells to highest bidder) or “Buy It Now” (fixed price). For auctions, set a realistic starting bid and consider a “Reserve Price” if you don’t want to sell below a certain amount. For Buy It Now, set a competitive price. Next, configure shipping. Accurately weigh and measure your item (packaged) to determine shipping costs. Offer multiple shipping options (e.g., USPS Priority Mail, FedEx Ground) to give buyers choice. You can offer “Calculated Shipping” (eBay calculates based on buyer’s location) or “Flat Rate” (you set a fixed cost). Clearly state your handling time (e.g., “1 business day”) and whether you offer international shipping. Consider offering “Free Shipping” as a sales incentive, but ensure you factor the shipping cost into your item’s price.
Step 4: Manage Your Sales and Grow
Fulfill Orders and Provide Excellent Customer Service
Once an item sells, prompt fulfillment is key. Package your item securely using appropriate packing materials (bubble wrap, packing peanuts, sturdy box). Print your shipping label directly through eBay for convenience and tracking. Ship within your stated handling time. After shipping, upload the tracking number to eBay immediately. Maintain open communication with your buyer; respond to questions promptly and courteously. If an issue arises (e.g., item damaged in transit), work with the buyer to find a fair resolution. Excellent customer service leads to positive feedback, which is crucial for building your seller reputation and attracting future buyers.
Monitor Performance and Optimize Listings
Regularly review your seller performance metrics, accessible through your “Seller Hub” on eBay. Pay attention to your “Seller Level” (Top Rated, Above Standard, Below Standard), defect rate, late shipment rate, and “Items not as described” rate. Use the “Traffic” section to see how many views your listings are getting. If a listing isn’t selling, consider revising it: improve photos, refine the title/description, adjust the price, or offer different shipping options. Experiment with promotions or “Best Offer” options. Analyze what sells well for you and focus on sourcing more of those items. Continuously learning and adapting based on your performance data will help you grow your eBay business.
FAQs
Q: How does eBay charge fees for selling?
A: eBay charges an insertion fee (for listing an item, though many categories offer free listings up to a certain number per month) and a final value fee (a percentage of the item’s final selling price, including shipping, once it sells). These fees vary by category and item price. You can find a detailed breakdown on eBay’s “Selling fees” page.
Q: What payment methods can I accept as an eBay seller?
A: eBay manages payments directly through “Managed Payments.” This means buyers pay eBay, and then eBay deposits the funds directly into your linked bank account. Buyers can use various methods like credit/debit cards, PayPal, Apple Pay, Google Pay, and more, but you only need to manage your bank account details with eBay.
Q: What should I do if a buyer requests a return?
A: If a buyer requests a return, respond promptly through the eBay return process. Review your return policy stated in the listing. If the item is “not as described,” you are generally expected to accept the return and pay for return shipping. If the buyer simply changed their mind, your policy dictates whether you accept the return and who pays for shipping. Always try to resolve issues amicably to avoid negative feedback.
Q: How long does it take to get paid after an item sells?
A: Once a buyer pays, eBay initiates a payout to your linked bank account. Payouts are typically processed within 1-2 business days after the buyer’s payment clears. The funds usually appear in your bank account within 1-3 business days after the payout is initiated, depending on your bank’s processing times. First-time sellers might experience a slight delay for initial payouts as eBay verifies account information.


