Step 1: Setting Up Your Amazon Seller Account
Choose Your Selling Plan
Amazon offers two primary selling plans: Individual and Professional. The Individual plan is suitable if you expect to sell fewer than 40 units per month, as it charges a $0.99 fee per item sold. The Professional plan, on the other hand, costs $39.99 per month but waives the per-item fee, making it more cost-effective for higher sales volumes. To choose, navigate to services.amazon.com/selling/pricing.htm and click “Sign up” under your preferred plan. Consider your initial product quantity and sales projections carefully before committing.
Register Your Business and Personal Information
Once you’ve selected a plan, you’ll be prompted to create your seller account. You’ll need to provide: your business name and address (or personal name if selling as an individual), a valid email address, a mobile phone number for verification, a charge method (credit card that can be charged internationally), and your bank account information for deposits. Amazon will also require tax information (e.g., your Social Security Number or Employer Identification Number if you have an LLC/corporation) and may ask for identity verification documents like a government-issued ID or bank statement. Ensure all information is accurate to avoid delays in account activation.
Step 2: Sourcing and Listing Your First Product
Research Profitable Products
Product research is critical. Start by identifying high-demand, low-competition products. Utilize tools like Jungle Scout, Helium 10, or Keepa to analyze product sales history, BSR (Best Seller Rank), average selling price, and competition. Look for products with a BSR consistently below 50,000 in a main category, a selling price between $15-$50 (to allow for profit margins after Amazon fees), and manageable size/weight for shipping. Consider private label products where you can brand a generic item, or retail arbitrage by buying discounted items locally and reselling them on Amazon. Avoid restricted categories for beginners.
Create Your Product Listing
Once you’ve sourced a product, you’ll need to create a compelling listing in Seller Central. Go to “Inventory” > “Add a Product.” If your product already exists on Amazon (e.g., for retail arbitrage), search by ASIN, UPC, or EAN and click “Sell Yours.” If it’s a new product (e.g., private label), click “I’m adding a product not sold on Amazon.” You’ll need to provide: a unique UPC/EAN (purchase from GS1 for legitimacy), a descriptive product title (including keywords), high-quality images (at least 7, white background, 1000px on the longest side), bullet points highlighting key features, a detailed product description, and relevant search terms (backend keywords). Optimize these elements with keywords identified during your product research to improve visibility.
Step 3: Managing Inventory and Fulfillment
Understand Amazon FBA vs. FBM
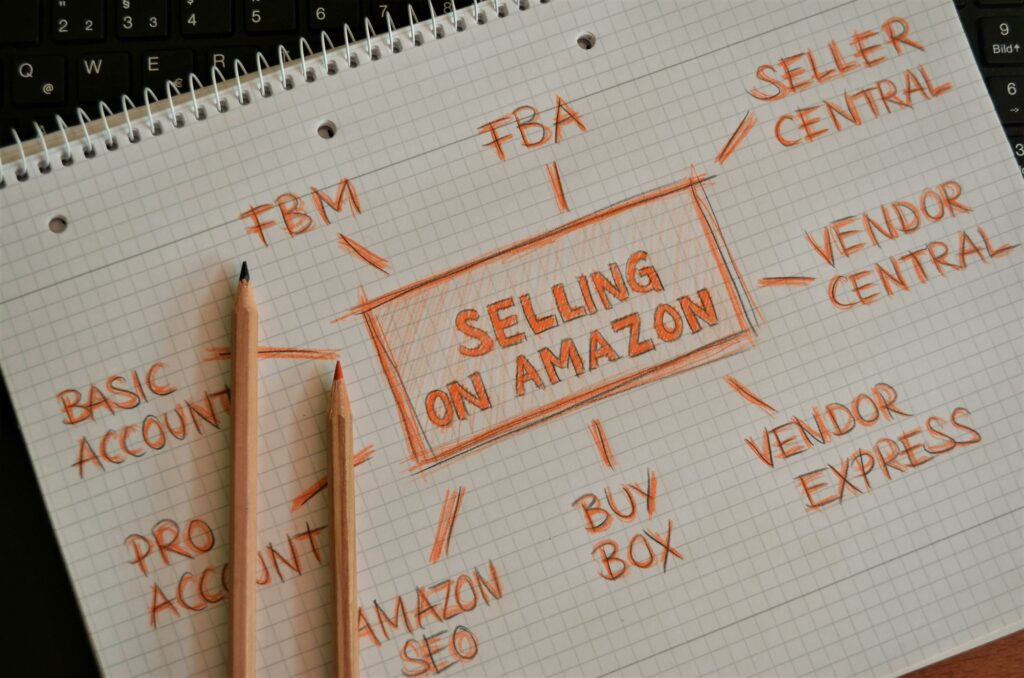
Amazon offers two primary fulfillment methods: Fulfillment by Amazon (FBA) and Fulfillment by Merchant (FBM). With FBA, you send your products to Amazon’s fulfillment centers, and they handle storage, picking, packing, shipping, customer service, and returns. This grants your products Prime eligibility, often leading to higher sales. FBM means you store, pack, and ship products yourself directly to customers. For beginners, FBA is generally recommended due to its convenience and Prime benefits, despite higher fees. To set up FBA, select “FBA” when creating or editing your listing in Seller Central.
Prepare and Ship Your Inventory
If using FBA, you’ll need to prepare your inventory according to Amazon’s strict guidelines. In Seller Central, go to “Inventory” > “Manage FBA Shipments.” Follow the workflow to create a shipping plan. This involves: setting quantities, labeling your products (ensure each unit has a scannable FNSKU label, which is Amazon’s unique barcode for your product), and packaging them appropriately (e.g., poly-bagging textiles, bubble-wrapping fragile items). Amazon will instruct you which fulfillment center(s) to send your inventory to. Use a reputable carrier (e.g., UPS, FedEx) and ensure your boxes are correctly labeled with Amazon’s shipping labels. Track your shipment until it’s received and checked in by Amazon.
Step 4: Optimizing for Sales and Growth
Master Amazon SEO and Advertising
Visibility is key to sales. Continuously optimize your product listings for Amazon’s search algorithm (A9). This involves refining your title, bullet points, description, and backend search terms with high-volume, relevant keywords. Beyond organic optimization, consider Amazon Advertising (PPC – Pay-Per-Click). Set up Sponsored Products campaigns targeting specific keywords or ASINs. Start with automatic campaigns to discover new keywords, then transition to manual campaigns for precise targeting. Monitor your ACoS (Advertising Cost of Sale) and adjust bids and keywords to maximize ROI. Running promotions like coupons or Lightning Deals can also boost sales and BSR temporarily.
Monitor Performance and Customer Feedback
Regularly review your performance metrics in Seller Central. Key reports include: Sales Dashboard, Business Reports (by ASIN, traffic & sales), and Inventory Reports. Pay close attention to your BSR, conversion rates, and profit margins. Actively solicit and manage customer reviews, as they significantly impact buying decisions. Respond promptly and professionally to all customer inquiries and feedback, whether positive or negative. Maintain a high Seller Health rating by avoiding policy violations, shipping on time (FBM), and handling returns efficiently. Use customer feedback to identify areas for product improvement or new product opportunities.
FAQ: How long does it take to start selling on Amazon?
Typically, setting up your account can take a few days to a week, depending on how quickly Amazon verifies your information. Once your account is active, sourcing and preparing your first product for shipment to FBA can take anywhere from 2-6 weeks, depending on your supplier and shipping method. After your inventory arrives at Amazon, it usually becomes available for sale within 24-72 hours.
FAQ: Do I need a business license to sell on Amazon?
No, you generally do not need a formal business license to start selling as an individual. However, if you plan to operate as a business entity (e.g., LLC, Corporation), you will need to register your business and obtain an Employer Identification Number (EIN) for tax purposes. It’s always advisable to check your local and state regulations regarding business registration, as requirements can vary.
FAQ: What are the main fees I’ll pay to Amazon?
The primary fees include: your selling plan fee ($0.99/item for Individual, $39.99/month for Professional), referral fees (a percentage of the sale price, typically 8-15% depending on the product category), and FBA fees (if applicable) which cover picking, packing, shipping, and storage. There might also be additional fees for long-term storage, returns processing, or advertising.
FAQ: Can I sell used items on Amazon?
Yes, Amazon allows the sale of used items in many categories, but not all. For example, used clothing, groceries, and some electronics are restricted. When listing a used item, you must accurately describe its condition (e.g., “Used – Like New,” “Used – Good,” “Used – Acceptable”) according to Amazon’s condition guidelines. Some brands or categories may also restrict the sale of used items, especially for new sellers.


