How to Create an Amazon Seller Account: A Complete Guide
Step 1: Understand Amazon Seller Account Types and Requirements
Determine Your Business Model
Before you begin, decide whether the Professional or Individual selling plan suits your needs. The Professional plan costs $39.99 per month and is ideal for businesses expecting to sell more than 40 units per month, as it waives the per-item closing fee. It also unlocks advanced selling tools like bulk listing, API integrations, and eligibility for the Buy Box. The Individual plan has no monthly subscription fee but charges a $0.99 per-item closing fee. This plan is best for casual sellers or those testing the waters with a small number of products (under 40 units per month). You can upgrade or downgrade your plan at any time.
Gather Necessary Documentation
To ensure a smooth registration process, have the following information and documents readily available:
- Business Email Address or Amazon Customer Account: You’ll use this to log in.
- Chargeable Credit Card: A valid credit card with a billing address that Amazon can verify. Debit cards are generally not accepted for registration.
- Government ID: A non-expired, government-issued national ID (e.g., passport or driver’s license). The name on the ID must exactly match the name provided during registration.
- Tax Information: Your Social Security Number (SSN) or Employer Identification Number (EIN) for U.S. sellers. For international sellers, relevant tax identification numbers from your country.
- Phone Number: A phone number where you can receive a verification call or SMS.
- Bank Account Information: For receiving payments from Amazon. This includes your bank name, account number, and routing number.
Step 2: Register Your Amazon Seller Account
Navigate to Amazon Seller Central
Open your web browser and go to the official Amazon Seller Central website. For U.S. sellers, this is sellercentral.amazon.com. Look for the “Sign up” or “Register now” button, typically located prominently on the homepage. Click on it to begin the registration process.
Provide Business and Personal Information
Follow the on-screen prompts to input the required details. This typically involves several steps:
- Create your Amazon account: If you don’t already have one, you’ll be prompted to create a new Amazon customer account or sign in with an existing one. This account will be linked to your seller account.
- Business Location and Type: Select your country of establishment and your business type (e.g., Privately-owned business, Publicly-owned business, Individual, Charity).
- Personal Information: Enter your full legal name, date of birth, and country of birth as they appear on your government ID.
- Business Information: Provide your business name, address, and contact details. Ensure consistency with your official business registration documents.
- Credit Card Information: Enter your chargeable credit card details. Amazon will typically place a small, temporary authorization charge (e.g., $1) to verify the card.
- Identity Verification: Upload clear, high-resolution scans or photos of your government-issued ID (front and back) and a bank statement or utility bill from the last 90 days showing your name and address. Ensure all four corners of the documents are visible and the text is legible.
- Phone Verification: You will receive a one-time password (OTP) via SMS or a phone call to the number you provided. Enter this code to verify your phone number.
After submitting all information, Amazon will review your application. This process can take anywhere from a few hours to several days. You will receive an email notification once your account is approved or if further information is required.
Step 3: Configure Your Seller Account Settings
Set Up Your Payment and Deposit Methods
Once your account is approved, log into Seller Central. Navigate to “Settings” (usually a gear icon in the top right corner) and then select “Account Info.”
- Deposit Method: Under the “Payment Information” section, click on “Deposit Methods.” Add your bank account details (bank name, account number, and routing number) where Amazon will deposit your sales proceeds. Ensure these details are accurate to avoid delays in receiving payments.
- Charge Method: Still under “Payment Information,” click on “Charge Methods.” Verify that the credit card you provided during registration is listed. This card will be used for Amazon’s fees (e.g., subscription fees, advertising costs) if your sales proceeds are insufficient to cover them.
Complete Tax Information Interview
This is a crucial step for tax compliance. From the “Settings” > “Account Info” page, locate the “Tax Information” section and click on “Tax Information Interview.”
You will be guided through a series of questions to determine your tax classification (e.g., individual, corporation, partnership) and provide your U.S. tax identification number (SSN or EIN) or relevant international tax ID. Answer truthfully and accurately. Once completed, Amazon will typically provide a W-9 form (for U.S. sellers) or W-8BEN (for non-U.S. sellers) for your records. This information is confidential and used by Amazon for tax reporting purposes.
Step 4: Prepare for Your First Sales
Understand Amazon’s Selling Fees and Policies
Before listing products, thoroughly familiarize yourself with Amazon’s fee structure and policies. Navigate to the “Help” section in Seller Central and search for “Selling Fees” and “Prohibited Product Restrictions.”
- Referral Fees: A percentage of the product’s selling price, varying by product category (typically 8% to 15%).
- Closing Fees: A per-item fee ($0.99) for Individual sellers.
- FBA Fees (if applicable): If you plan to use Fulfillment by Amazon, you’ll incur storage fees and fulfillment fees based on product size and weight.
- Subscription Fee: $39.99/month for Professional sellers.
- Product Restrictions: Be aware of categories and specific products that are restricted or require approval to sell (e.g., certain electronics, medical devices, fine art). Attempting to sell prohibited items can lead to account suspension.
Plan Your Product Listing Strategy
Effective product listings are key to sales. Consider the following:
- Product Research: Use tools (e.g., Jungle Scout, Helium 10) to identify high-demand, low-competition products.
- Sourcing: Determine your sourcing method (e.g., wholesale, private label, dropshipping).
- Listing Optimization:
- High-Quality Images: Use professional, clear images (at least 1000px on the longest side) with a pure white background. Include multiple angles and lifestyle shots.
- Compelling Title: Include key keywords, brand, product name, and essential features.
- Bullet Points: Highlight key features and benefits in concise, easy-to-read bullet points.
- Detailed Product Description: Provide more in-depth information, address common customer questions, and use HTML for formatting if desired (though plain text is often sufficient).
- Keywords: Utilize relevant keywords in your title, bullet points, and the “Search Terms” field in the listing backend to improve discoverability.
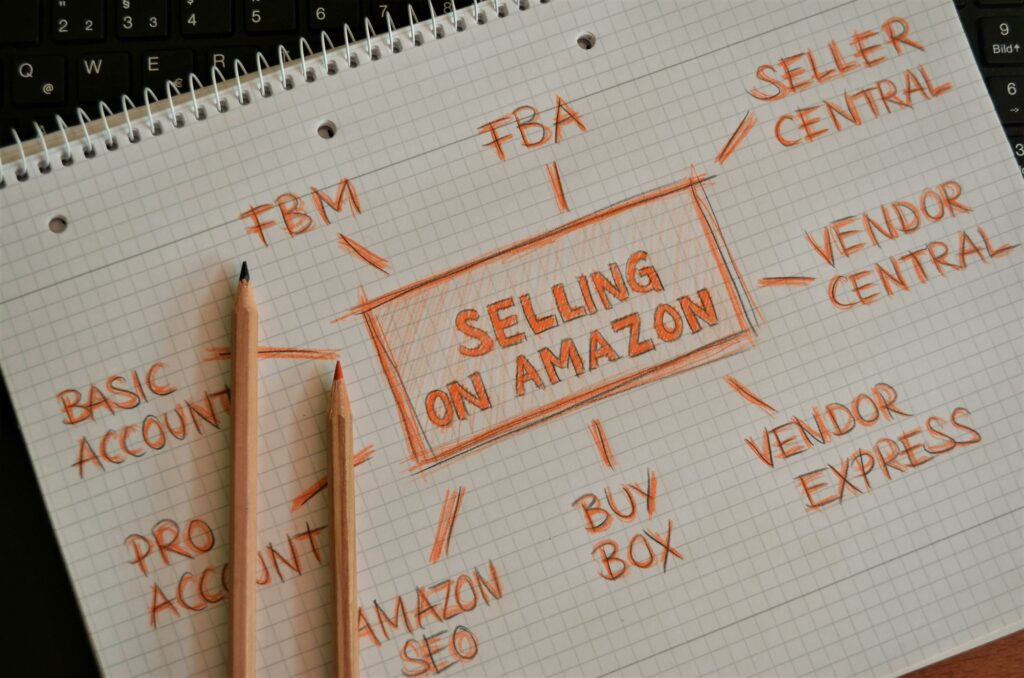
- Inventory Management: Decide whether you will fulfill orders yourself (FBM – Fulfillment by Merchant) or use Amazon’s fulfillment services (FBA – Fulfillment by Amazon). FBA offers prime eligibility and handles storage, packing, shipping, and customer service for a fee.
FAQs
Q1: How long does it take for Amazon to approve a new seller account?
A1: Account approval times can vary significantly. While some accounts are approved within a few hours, others may take several days or even weeks if Amazon requires additional verification or documentation. Ensure all submitted documents are clear, legible, and match the information provided exactly to minimize delays.
Q2: Can I start selling on Amazon with an Individual account and then upgrade?
A2: Yes, absolutely. Many new sellers start with an Individual account to test the platform and their product ideas without the monthly subscription fee. Once your sales volume increases (typically above 40 units per month) or you need access to advanced features, you can easily upgrade to a Professional account from your Seller Central settings.
Q3: What happens if my Amazon seller account is suspended during registration?
A3: If your account is suspended during registration, it’s usually due to a mismatch in information provided or issues with document verification. Amazon will typically send an email outlining the reason for suspension and the steps required to appeal. Carefully review their request, provide the exact information/documents they ask for, and submit a clear, concise appeal. Persistence and accuracy are key.
Q4: Do I need a registered business to sell on Amazon?
A4: No, you do not necessarily need a registered business entity (like an LLC or Corporation) to start selling on Amazon. You can register as an “Individual” seller using your personal name and Social Security Number (for U.S. sellers). However, for tax purposes, liability protection, and potential business growth, many sellers choose to register a formal business entity as they scale.


