How to Start Selling on Amazon: A Beginner’s Guide
Step 1: Research and Plan Your Amazon Business
Identify Your Niche and Product Ideas
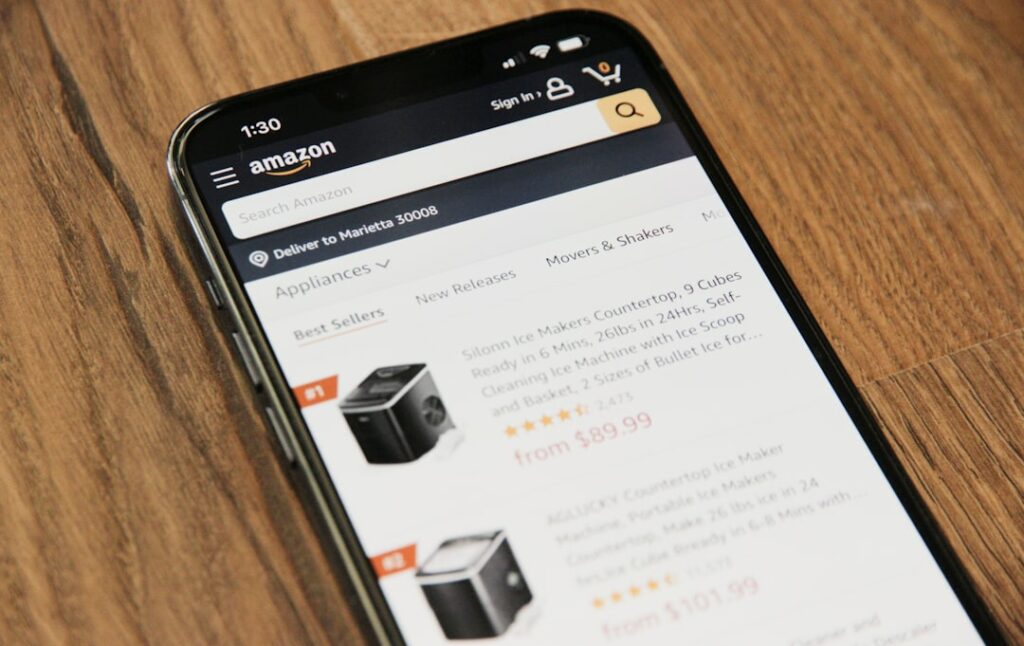
Begin by exploring potential product categories that align with your interests, expertise, or existing market gaps. Use tools like Jungle Scout, Helium 10, or even Amazon’s own best-seller lists to identify trending products or underserved niches. Look for products with a healthy demand but moderate competition. Consider factors like product size and weight (for shipping costs), fragility, and seasonality. For instance, if you’re passionate about sustainable living, you might explore eco-friendly kitchen gadgets or reusable household items. Brainstorm at least 5-10 initial product concepts before narrowing down.
Analyze Competition and Market Demand
Once you have a few product ideas, delve deeper into market analysis. Search for your potential products on Amazon and observe the top 10-20 listings. Pay attention to their sales rank, review count, average star rating, and pricing strategy. Use browser extensions from tools like Keepa or CamelCamelCamel to view historical sales data and price fluctuations. A good indicator of market demand is a product with consistent sales (e.g., a Best Seller Rank under 50,000 in a relevant sub-category) and an average review count of 50-500, suggesting established demand without being overly saturated. Avoid niches dominated by brands with thousands of reviews and established brand loyalty unless you have a truly unique selling proposition.
Step 2: Set Up Your Amazon Seller Account
Choose Your Selling Plan (Individual vs. Professional)
Amazon offers two primary selling plans: Individual and Professional. The Individual plan is suitable for sellers who expect to sell fewer than 40 units per month, as it charges a $0.99 fee per item sold. The Professional plan costs $39.99 per month but waives the per-item fee, making it more cost-effective if you plan to sell more than 40 units. The Professional plan also unlocks advanced selling tools, bulk listing options, and eligibility for the Buy Box. For most serious sellers, the Professional plan is the recommended choice from the outset to access all features.
Gather Required Documentation and Information
Before you begin the registration process, ensure you have the following readily available: a valid credit card (that can be charged internationally), a government-issued national ID (like a driver’s license or passport), a tax information interview (which will determine your tax status), and a bank account where Amazon can deposit your sales proceeds. You will also need a valid phone number. Ensure that the name and address on your ID and bank statements match exactly to avoid delays in verification. Amazon’s verification process can take several days to weeks, so having all documents prepared in advance is crucial.
Step 3: Source and List Your Products
Find Reliable Suppliers and Manufacturers
Sourcing is a critical step. For private label products, platforms like Alibaba.com are popular for finding manufacturers in China. When contacting suppliers, clearly communicate your product specifications, desired quality standards, and quantity. Request samples to personally inspect quality before placing a large order. For retail arbitrage or online arbitrage, you’ll be sourcing products from retail stores (e.g., Walmart, Target) or online retailers (e.g., eBay, discount sites) to resell on Amazon. For wholesale, you’ll work directly with brand distributors. Always verify supplier legitimacy, check their trade assurance policies, and negotiate pricing and minimum order quantities (MOQs).
Create Compelling Product Listings
Your product listing is your virtual storefront. It needs to be optimized for both Amazon’s search algorithm and human readability. Start with a strong, keyword-rich title (max 200 characters) that includes your main product keywords. Write compelling bullet points (5 key features/benefits) highlighting what makes your product unique and how it solves a customer’s problem. Develop a detailed product description that expands on the benefits and provides more information. Most importantly, invest in high-quality product photography (at least 7-9 images, including lifestyle shots and infographics) that adhere to Amazon’s image requirements (white background, minimum 1000 pixels on the longest side). Use backend search terms to capture additional relevant keywords that don’t fit naturally into your visible listing.
Step 4: Manage Orders and Optimize Performance
Understand Fulfillment Options (FBA vs. FBM)
Amazon offers two primary fulfillment methods: Fulfillment by Amazon (FBA) and Fulfillment by Merchant (FBM). With FBA, you send your products to Amazon’s fulfillment centers, and they handle storage, picking, packing, shipping, customer service, and returns. This is often preferred as FBA products are eligible for Prime shipping, which can significantly boost sales. However, FBA incurs storage and fulfillment fees. With FBM, you are responsible for storing, packing, and shipping products to customers yourself. This gives you more control but requires significant logistical effort. Most new sellers begin with FBA for its convenience and Prime eligibility, especially for smaller, high-volume items.
Monitor Performance Metrics and Customer Feedback
Regularly review your Amazon Seller Central dashboard. Pay close attention to key performance indicators (KPIs) such as your Order Defect Rate (ODR), Late Shipment Rate, Pre-fulfillment Cancel Rate, and customer service response time. Amazon has strict performance targets, and failing to meet them can lead to account suspension. Actively solicit and respond to customer reviews. Positive reviews build trust and improve your product’s visibility, while negative reviews, if unaddressed, can harm your reputation. Respond professionally to all feedback, especially negative ones, to show your commitment to customer satisfaction. Use the “Business Reports” section in Seller Central to track sales, traffic, and conversion rates to identify areas for improvement.
FAQs
Q: How much money do I need to start selling on Amazon?
A: The initial investment can vary widely. For a private label product, you might need $500 – $3,000+ for inventory, samples, photography, and initial marketing. For retail or online arbitrage, you could start with $100 – $500 for initial product purchases. Don’t forget the $39.99/month Professional seller fee (if chosen), and potential FBA fees or shipping costs.
Q: How long does it take to get approved to sell on Amazon?
A: The account verification process can take anywhere from a few days to several weeks, depending on the accuracy of your submitted documents and Amazon’s current review queue. Ensure all information matches exactly across your ID, bank statements, and credit card for the fastest approval.
Q: Can I sell products that are already available on Amazon?
A: Yes, you can. If you are selling the exact same product (same brand, UPC/EAN, model), you can list your offer on the existing product page. This is common for retail arbitrage or wholesale. If you are creating your own brand or a unique product, you will create a new product listing.
Q: What is the most important factor for success on Amazon?
A: While many factors contribute, consistently providing excellent customer service and maintaining a high-quality product are paramount. Positive customer reviews and a low Order Defect Rate directly impact your product’s ranking and your account health, leading to long-term success.


