Sell on Amazon: 2024 Guide for Beginners
Step 1: Set Up Your Amazon Seller Account
Choose Your Selling Plan
Amazon offers two primary selling plans: Individual and Professional. The Individual plan is suitable if you plan to sell fewer than 40 items per month, as it charges a $0.99 fee per item sold. The Professional plan costs $39.99 per month but waives the per-item fee, making it more cost-effective for higher sales volumes. The Professional plan also unlocks advanced selling tools, bulk listing options, and eligibility for the Buy Box. To choose, navigate to Amazon Services and click “Sign up” under your preferred plan. You can upgrade or downgrade your plan at any time through your Seller Central account settings.
Register Your Business Information
Once you select a plan, you’ll be prompted to provide critical business information. This includes your legal business name and address, a valid email address, and a phone number. You’ll also need a charge method (a valid credit card) and a bank account where Amazon can deposit your sales proceeds. For identity verification, prepare a government-issued ID (like a driver’s license or passport) and a recent bank statement or utility bill that matches the address provided. Ensure all information is accurate and consistent across documents to avoid delays in the verification process, which can take several days.
Step 2: List Your Products on Amazon
Create New Product Listings
Log into your Amazon Seller Central account and navigate to “Inventory” > “Add a Product.” If your product already exists on Amazon (e.g., a popular brand item), search for it by ASIN, UPC, EAN, or ISBN and click “Sell Yours.” If it’s a new product or a private label, click “I’m adding a product not sold on Amazon.” You’ll then select a product category, provide vital attributes like product name, brand, manufacturer, and key features. Upload high-resolution images (at least 1000px on the longest side, white background preferred) and write a compelling product description and bullet points. Ensure all required fields marked with an asterisk are completed accurately.
Optimize Product Pages for Search
To improve visibility, your product listings need to be optimized for Amazon’s A9 search algorithm. This involves strategic keyword placement. Research relevant keywords using tools like Helium 10, Jungle Scout, or Amazon’s own search bar suggestions. Incorporate these keywords naturally into your product title, bullet points, product description, and the “search terms” field in Seller Central (which is not visible to customers). Ensure your product title is concise yet informative, including the brand, product name, and key differentiators. Use all five bullet points to highlight benefits and features. Craft a detailed product description that addresses common customer questions and objections. High-quality images and a competitive price are also crucial for conversion.
Step 3: Manage Your Inventory and Orders
Understand Fulfillment by Amazon (FBA) vs. Fulfillment by Merchant (FBM)
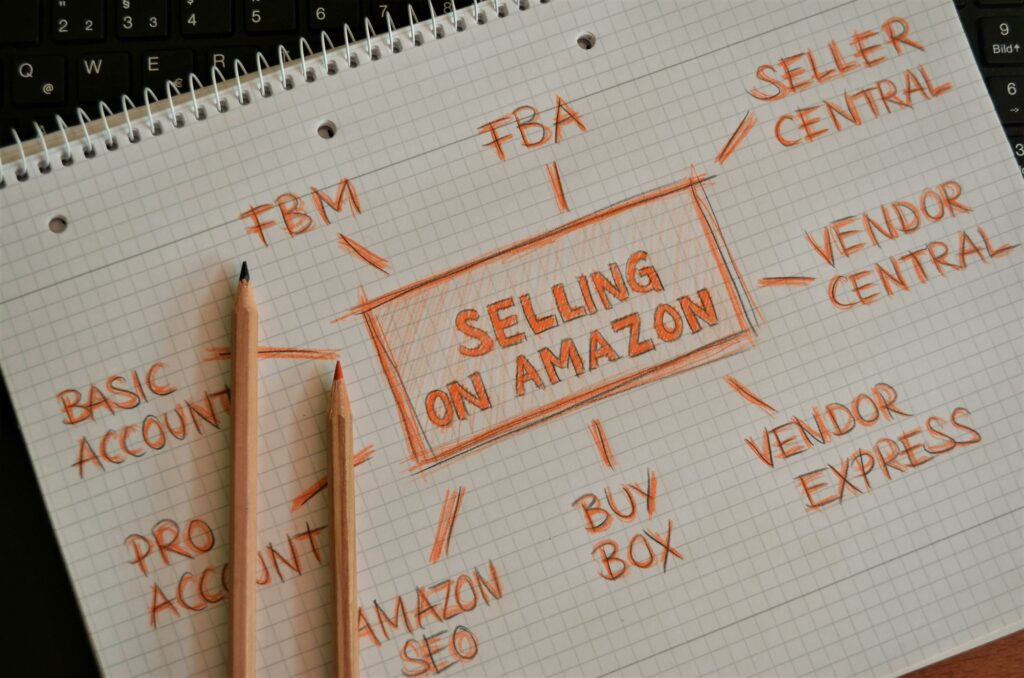
Amazon offers two primary fulfillment methods. With Fulfillment by Amazon (FBA), you ship your products to Amazon’s fulfillment centers, and they handle storage, picking, packing, shipping, customer service, and returns. This grants your products Prime eligibility, often leading to higher sales. FBA incurs storage fees and fulfillment fees. With Fulfillment by Merchant (FBM), you store your own inventory and are responsible for all aspects of shipping, customer service, and returns. FBM gives you more control but requires significant logistical effort. To choose, go to your product listing in Seller Central and select “Change to Fulfilled by Amazon” or “Change to Fulfilled by Merchant” under the “Actions” dropdown for the specific ASIN.
Process Customer Orders and Returns
For FBM orders, navigate to “Orders” > “Manage Orders” in Seller Central. New orders will appear as “Unshipped.” You must ship the product within the specified handling time (usually 1-2 business days) and confirm shipment by entering the carrier and tracking information. Failure to do so can negatively impact your seller metrics. For returns, Amazon has a standardized return policy. If you use FBA, Amazon handles the entire return process. For FBM, you will receive a return request in Seller Central. You must authorize the return, provide a return address (or a prepaid shipping label), and issue a refund once the item is received and inspected, according to Amazon’s refund guidelines. Monitor your “Performance” dashboard for metrics like Order Defect Rate and Late Shipment Rate to ensure compliance.
Step 4: Promote and Grow Your Amazon Business
Utilize Amazon Advertising Options
Amazon offers several advertising solutions to boost product visibility. Sponsored Products are keyword-targeted ads that appear in search results and on product pages. Sponsored Brands allow you to promote a collection of products or your brand with a custom headline and logo. Sponsored Display ads target specific audiences on and off Amazon. To set up a campaign, go to “Advertising” > “Campaign Manager” in Seller Central. Choose your campaign type, set a budget, select your targeting (automatic or manual keywords/ASINs), and create your ad creatives. Start with a small budget and monitor performance regularly, adjusting bids and keywords based on your ACoS (Advertising Cost of Sale).
Monitor Performance and Adapt Strategies
Regularly review your Amazon Seller Central reports to understand your business performance. Key reports include “Business Reports” (sales, traffic, conversion rates), “Payments Reports” (disbursements, fees), and “Advertising Reports” (campaign performance). Analyze customer reviews and feedback to identify areas for product improvement or customer service enhancements. Stay updated on Amazon’s policy changes and algorithm updates. Continuously test different strategies, such as adjusting pricing, optimizing product images, or running promotions (e.g., Lightning Deals, Coupons). Adapt your inventory levels based on sales trends and seasonal demand. Consistent monitoring and agile adaptation are critical for long-term growth on Amazon.
FAQs
Q: How much does it cost to start selling on Amazon?
A: The initial costs can vary. The Professional selling plan costs $39.99 per month. Beyond that, you’ll incur product costs, shipping costs to Amazon’s fulfillment centers (if using FBA), Amazon’s referral fees (a percentage of your sales, typically 8-15% depending on the category), FBA fulfillment fees, and potential storage fees. Budgeting for initial advertising campaigns is also recommended.
Q: Do I need a business license to sell on Amazon?
A: While Amazon doesn’t explicitly require a specific business license to open a seller account, it’s highly recommended to operate as a legitimate business entity (e.g., sole proprietorship, LLC). You are responsible for complying with all local, state, and federal laws, including business registration and tax requirements. It’s best to consult with a legal or tax professional in your jurisdiction.
Q: How long does it take to get paid by Amazon?
A: Amazon typically holds funds for a 14-day period from the date of sale to cover potential returns or chargebacks. After this period, funds are generally disbursed to your linked bank account every two weeks. The exact disbursement schedule can be viewed in your Seller Central “Payments” report.
Q: Can I sell used items on Amazon?
A: Yes, you can sell used items on Amazon, but it depends on the product category and condition. Some categories, like clothing, allow used items, while others, like groceries or health & personal care, generally do not. When listing, you must accurately describe the item’s condition (e.g., “Used – Like New,” “Used – Very Good,” “Used – Good,” “Used – Acceptable”) and adhere to Amazon’s condition guidelines. Some brands or categories may also restrict the sale of used items by third-party sellers.


