Sell on Amazon: No Inventory Needed
Step 1: Understand the Dropshipping Model
Research Dropshipping Fundamentals
Dropshipping is a retail fulfillment method where a store doesn’t keep the products it sells in stock. Instead, when a store sells a product, it purchases the item from a third party and has it shipped directly to the customer. This means the seller never sees or handles the product. Your primary responsibilities will be marketing, customer service, and managing your Amazon storefront. Understand that your profit margin comes from the difference between the wholesale price you pay the supplier and the retail price you charge on Amazon, minus Amazon’s fees. Familiarize yourself with Amazon’s specific policies regarding dropshipping, as they require you to be the seller of record, responsible for returns and customer service.
Identify Suitable Product Niches
Begin by researching product categories that are well-suited for dropshipping. Look for items that are lightweight, non-fragile, and have a consistent demand but aren’t oversaturated with sellers. Avoid highly regulated products or items with complex return policies. Use tools like Jungle Scout, Helium 10, or even Amazon’s own best-seller lists to identify trends and analyze competition. Consider products with a price point that allows for a healthy profit margin after supplier costs, shipping, and Amazon fees. Examples often include home decor, niche electronics accessories, specific apparel items, or pet supplies.
Step 2: Set Up Your Amazon Seller Account
Choose Your Seller Plan
Amazon offers two main seller plans: Individual and Professional. The Individual plan charges a $0.99 fee per item sold, while the Professional plan costs $39.99 per month, regardless of how many items you sell. If you plan to sell more than 40 items per month, the Professional plan is more cost-effective. The Professional plan also grants access to advanced selling tools, APIs, and eligibility for the Buy Box, which is crucial for visibility. For dropshipping, where you might quickly exceed 40 sales, the Professional plan is generally recommended from the outset.
Complete Account Registration and Verification
Navigate to sellercentral.amazon.com and click “Sign Up.” You will need to provide a valid credit card, a phone number, tax information (SSN or EIN), and a government-issued ID. Amazon will perform a verification process, which may include a video call to confirm your identity and address. Ensure all information provided is accurate and matches your official documents to avoid delays. This process can take several days to a few weeks, so start early.
Step 3: Find Reliable Dropshipping Suppliers
Evaluate Supplier Reputability and Reliability
This is the most critical step for successful dropshipping. Research suppliers extensively. Look for those with a proven track record, positive reviews, and clear communication channels. Websites like SaleHoo, Worldwide Brands, and Doba can be good starting points, but always verify individual suppliers. Contact them directly, inquire about their shipping times, return policies, and dispute resolution processes. Request samples of products you intend to sell to check quality. Prioritize suppliers who offer fast shipping (ideally within 3-7 business days to the customer) and have robust inventory management systems to prevent overselling.
Integrate Supplier Product Data
Once you’ve chosen a supplier, you’ll need to get their product data, including descriptions, images, and pricing. Many dropshipping suppliers provide CSV files, XML feeds, or integrate directly with platforms via APIs. Tools like Inventory Source or Syncee can help automate the process of syncing product listings and inventory levels between your supplier and your Amazon store. This automation is crucial to prevent selling out-of-stock items and to keep your product information updated, minimizing manual work and potential errors.
Step 4: List Products and Manage Orders
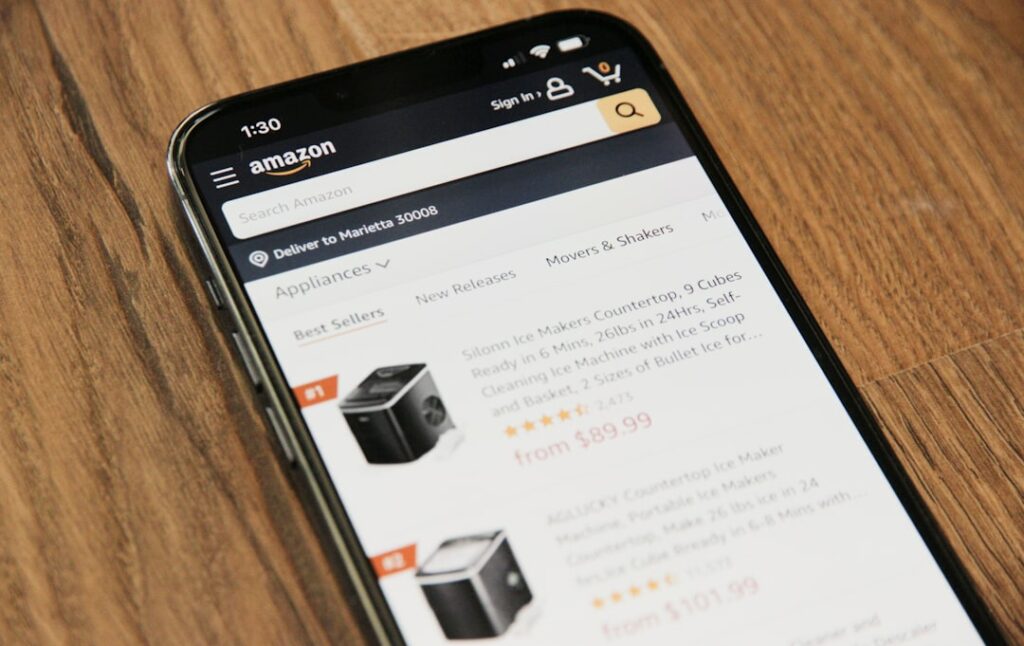
Create Product Listings on Amazon
Log into your Amazon Seller Central account and go to “Inventory” > “Add a Product.” For each product, you’ll need to create a compelling listing. Write clear, concise, and keyword-rich product titles and descriptions. Use high-quality images provided by your supplier (or better yet, take your own unique photos if possible). Fill in all relevant product attributes, including brand, manufacturer, dimensions, and weight. Set competitive pricing, factoring in your supplier cost, Amazon’s referral fees (which vary by category), and your desired profit margin. Regularly monitor competitor pricing to stay competitive.
Process Customer Orders and Manage Shipping
When a customer places an order on Amazon, you will receive a notification in Seller Central. Your process will be:
- Receive the order on Amazon.
- Collect the customer’s shipping information.
- Place an order with your dropshipping supplier, providing the customer’s shipping details.
- Pay the supplier their wholesale price for the product.
- Once the supplier ships the item, they will provide you with a tracking number.
- Upload this tracking number to the Amazon order in Seller Central to mark the item as shipped.
Monitor tracking closely and proactively communicate with customers about their order status, especially if there are any delays. Be prepared to handle customer service inquiries, returns, and refunds directly, as you are the seller of record on Amazon.
FAQs
Q1: Can I use multiple dropshipping suppliers?
A1: Yes, you can and often should use multiple suppliers. This diversifies your product offerings and reduces reliance on a single source, mitigating risks like stockouts or supplier issues. However, managing multiple suppliers requires more organization to keep track of inventory, shipping times, and pricing from each.
Q2: What are Amazon’s specific policies on dropshipping?
A2: Amazon’s dropshipping policy states that you must be the seller of record for all products. This means you must identify yourself as the seller on all packing slips, invoices, external packaging, and in all customer communications. You are responsible for accepting and processing customer returns, even if the item ships directly from your supplier. Violating these policies, especially by sending packages with another retailer’s branding, can lead to account suspension.
Q3: How do I handle returns when dropshipping on Amazon?
A3: You are responsible for managing returns. When a customer initiates a return, you typically provide them with a return label. The customer then ships the item back to an address you provide (either your own, a third-party return center, or if the supplier allows, directly back to the supplier’s warehouse). Once you confirm the return, you issue the refund on Amazon. You then need to coordinate with your supplier regarding credits or replacements for the returned item, based on your agreement with them.
Q4: What are the typical profit margins for dropshipping on Amazon?
A4: Profit margins for dropshipping on Amazon can vary widely, typically ranging from 10% to 30%, but sometimes higher for niche products. Factors influencing this include the product’s wholesale cost, Amazon’s category-specific referral fees (usually 8-15%), shipping costs, and your competitive pricing strategy. It’s crucial to calculate all these costs accurately for each product before listing to ensure profitability.


