Sell on Amazon: The Ultimate 2024 Guide
Step 1: Set Up Your Amazon Seller Account
Choose Your Selling Plan (Individual vs. Professional)
Amazon offers two primary selling plans: Individual and Professional. The Individual plan is suitable for sellers who expect to sell fewer than 40 items per month, as it incurs a $0.99 fee per item sold. This plan is ideal for hobbyists or those just starting out with a limited inventory. The Professional plan, on the other hand, costs $39.99 per month regardless of the number of items sold, making it cost-effective if you plan to sell 40 or more items monthly. It also unlocks advanced selling tools, bulk listing options, and eligibility for top placement in the Buy Box. To choose, navigate to services.amazon.com/sell.html and click “Sign up” under your preferred plan.
Gather Required Information (Bank Account, Tax ID, Credit Card)
Before you begin the registration process, ensure you have the following essential information readily available to avoid delays:
- Bank Account Number and Bank Routing Number: This is where Amazon will deposit your earnings. Ensure it’s a valid checking account.
- Chargeable Credit Card: A valid credit card (Visa, MasterCard, American Express, Discover) is required for Amazon to charge selling fees or other charges, even if your account has a positive balance. Debit cards may not always be accepted.
- Government-issued National ID: Such as a driver’s license or passport, for identity verification.
- Tax Information: For U.S. sellers, this typically means your Social Security Number (SSN) or Employer Identification Number (EIN) for tax purposes. Amazon will guide you through a tax interview.
- Phone Number: A valid phone number where you can receive a verification call or SMS.
Having these details prepared will streamline the account setup process, which typically takes about 15-20 minutes.
Step 2: List Your Products Effectively
Research Product Opportunities and Demand
Effective product research is crucial for success on Amazon. Begin by identifying products with high demand and relatively low competition. Utilize tools like Jungle Scout, Helium 10, or Keepa to analyze sales data, historical pricing, and competitor activity. Look for products with consistent sales ranks (e.g., under 50,000 in a popular category), a decent average selling price (e.g., $15-$50 for good profit margins), and a manageable number of reviews for top competitors. Consider niche markets or variations of popular products to differentiate your offerings. For example, instead of “yoga mats,” consider “eco-friendly non-slip yoga mats for hot yoga” if your research shows a gap in that specific market.
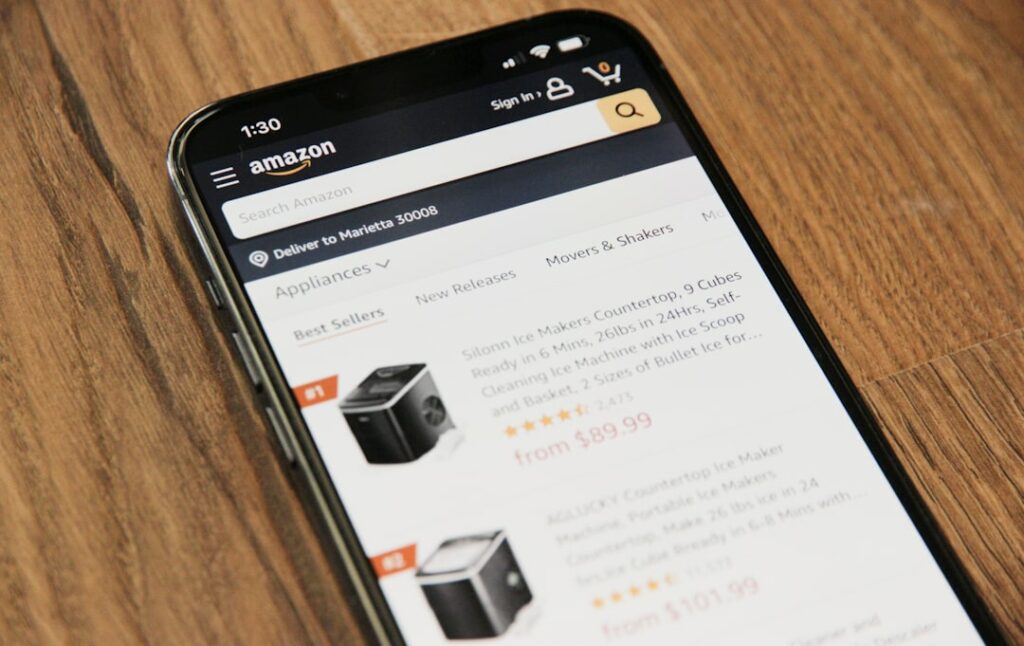
Optimize Product Listings with Keywords and High-Quality Images
A well-optimized product listing is vital for visibility and conversion.
- Keywords: Integrate relevant keywords naturally throughout your product title, bullet points (key features), product description, and backend search terms. Use Amazon’s search bar suggestions, competitor listings, and keyword research tools to identify high-volume, relevant terms. For instance, if selling a coffee maker, include terms like “drip coffee maker,” “programmable coffee machine,” “12-cup brewer,” and “automatic shut-off.”
- Title: Your title should be concise, informative, and keyword-rich, including brand, product type, key feature, and size/color if applicable (e.g., “BrandName 12-Cup Programmable Drip Coffee Maker with Stainless Steel Carafe, Black”).
- Bullet Points: Use 5-7 compelling bullet points to highlight key benefits and features, starting each with a strong, action-oriented phrase. Focus on how the product solves a problem or improves the customer’s life.
- Product Description: Provide a more detailed narrative about your product, its uses, and benefits. Use HTML formatting (like <b> for bolding) for readability if you don’t have A+ Content.
- High-Quality Images: Upload at least 7-9 high-resolution images (1000px on the longest side for zoom functionality). Include a main image with a pure white background (required), lifestyle shots showing the product in use, images highlighting features, and scale images to show size. Consider a short product video as well.
- Backend Search Terms: These are hidden keywords that help Amazon understand your product. Fill them with relevant terms not already in your visible listing, including common misspellings or synonyms.
Regularly review and update your listings based on performance and competitor changes.
Step 3: Manage Inventory and Fulfillment
Understand Fulfillment by Amazon (FBA) vs. Fulfillment by Merchant (FBM)
Choosing your fulfillment method significantly impacts your operational efficiency and customer satisfaction.
- Fulfillment by Amazon (FBA): With FBA, you send your products to Amazon’s fulfillment centers. Amazon stores your inventory, picks, packs, ships orders, handles customer service, and manages returns. This option is highly recommended for most sellers as it grants your products Prime eligibility, often leading to increased sales. While there are storage and fulfillment fees, it frees up your time from logistics. To use FBA, you’ll create a shipping plan in Seller Central, label your products according to Amazon’s guidelines, and ship them to the designated Amazon warehouse.
- Fulfillment by Merchant (FBM): With FBM, you are responsible for storing your inventory, picking, packing, shipping orders, and managing all customer service and returns yourself. This method offers greater control over your inventory and packaging but requires significant time and resources. It’s suitable for large, bulky, or fragile items where FBA fees might be prohibitive, or for sellers who already have an established fulfillment infrastructure. You must adhere to Amazon’s strict shipping performance metrics (e.g., on-time delivery rate, valid tracking rate) to maintain your selling privileges.
Many sellers use a hybrid approach, using FBA for best-selling items and FBM for slower-moving or specialty products.
Monitor Inventory Levels and Restock Strategically
Maintaining optimal inventory levels is critical to avoid stockouts (lost sales) and excessive storage fees.
- Use Amazon’s Tools: In Seller Central, navigate to “Inventory” > “Manage FBA Inventory” or “Manage FBM Inventory.” Amazon provides reports like “Inventory Age” and “Restock Inventory” that offer insights into your stock levels, sales velocity, and recommended restock dates.
- Calculate Lead Times: Factor in the time it takes for your supplier to produce goods, for shipping (especially international freight), and for Amazon to receive and process your inventory (for FBA). A common formula is: (Daily Sales Velocity x Lead Time in Days) + Safety Stock.
- Set Reorder Points: Based on your sales velocity and lead times, establish specific reorder points for each product. When your inventory hits this level, it triggers a new order with your supplier.
- Consider Seasonality: Adjust your inventory forecasts for seasonal demand fluctuations. For example, increase stock for holiday-themed products well in advance of peak seasons like Black Friday or Christmas.
- Automate if Possible: For high-volume sellers, consider using third-party inventory management software that integrates with Amazon to automate reorder suggestions and track stock across multiple channels.
Regularly reviewing your inventory performance and adjusting your ordering strategy will prevent lost sales and optimize cash flow.
Step 4: Promote and Grow Your Amazon Business
Utilize Amazon Advertising Options (Sponsored Products, Brands)
Amazon offers powerful advertising tools to increase your product visibility and sales.
- Sponsored Products: These are keyword-targeted ads that appear within search results and on product detail pages. They are excellent for driving immediate sales and increasing product visibility for individual ASINs. You bid on keywords, and your ad appears when a customer searches for those terms. Start with automatic campaigns to discover relevant keywords, then transition to manual campaigns for better control over bids and targeting.
- Sponsored Brands: Formerly Headline Search Ads, these ads feature your brand logo, a custom headline, and multiple products. They appear prominently at the top of search results and are ideal for brand building and showcasing a portfolio of products. You need to be enrolled in Amazon’s Brand Registry to access this feature.
- Sponsored Display: These are audience-targeted ads that appear on and off Amazon, allowing you to reach relevant shoppers based on their shopping behaviors or product views.
Start with a small budget, monitor your ACoS (Advertising Cost of Sale), and optimize your campaigns by pausing underperforming keywords/products and increasing bids on profitable ones. Experiment with different ad types to see what works best for your products.
Focus on Customer Service and Positive Reviews
Exceptional customer service and a strong base of positive reviews are foundational for long-term success on Amazon.
- Prompt Communication: Respond to customer inquiries (via Buyer-Seller Messaging) within 24 hours, even on weekends. Provide clear, helpful, and polite responses.
- Handle Returns and Refunds Gracefully: Follow Amazon’s return policy to the letter. A smooth return process can turn a potentially negative experience into a neutral or even positive one.
- Encourage Reviews (Ethically): Amazon’s Terms of Service strictly prohibit incentivizing reviews (e.g., offering discounts for a review). However, you can ethically request reviews.
- Amazon’s “Request a Review” Button: In Seller Central, for each order, you can click the “Request a Review” button. This sends a standardized email to the customer asking for both a product review and seller feedback.
- Follow-up Emails (if allowed by Amazon’s current policy): Some sellers use third-party tools to send polite, non-incentivized follow-up emails after an order is delivered, reminding customers to leave a review if they are satisfied. Always ensure this complies with Amazon’s latest communication guidelines.
- Monitor and Address Negative Feedback: Regularly check your seller feedback and product reviews. If you receive negative feedback, politely reach out to the customer to understand the issue and offer a resolution (if appropriate and within Amazon’s guidelines). Sometimes, a customer will remove or update their feedback if their issue is resolved.
A high seller rating and a good volume of positive product reviews build trust, improve your product’s search ranking, and significantly increase conversion rates.
FAQs
Q1: How much does it cost to start selling on Amazon?
A1: The initial costs vary. If you choose the Individual selling plan, there’s no monthly subscription fee, but you pay $0.99 per item sold plus referral fees (a percentage of the sale price, typically 8-15%). The Professional plan costs $39.99 per month, plus referral fees. Beyond these, you’ll have costs for inventory (your products), shipping to Amazon (if using FBA), Amazon FBA fees (if applicable), and potentially advertising costs. You can start with a relatively low investment if you source products affordably and use the Individual plan.
Q2: Can I sell used items on Amazon?
A2: Yes, you can sell used items on Amazon, but it depends on the product category and condition. Some categories, like Clothing or Beauty, generally only allow new items. For categories like Books, Electronics, or Collectibles, used items are common. You must accurately describe the condition of the item (e.g., “Used – Like New,” “Used – Good,” “Used – Acceptable”) according to Amazon’s condition guidelines. Always check category restrictions and ensure your item meets the specified condition standards before listing.
Q3: How long does it take to get paid by Amazon?
A3: Amazon typically holds funds for 14 days from the date of sale before initiating a disbursement to your bank account. After the 14-day hold, payments are then disbursed every two weeks, provided your account balance is positive. The actual transfer time for funds to appear in your bank account can take an additional 3-5 business days, depending on your bank’s processing times. New sellers may experience slightly longer holds initially as part of standard verification processes.
Q4: What is Amazon Brand Registry and do I need it?
A4: Amazon Brand Registry is a program that helps brand owners protect their intellectual property on Amazon and gain access to enhanced selling tools. To enroll, you need a registered trademark for your brand (text-based or image-based with words) in each country where you want to enroll. You don’t “need” it to start selling, but it is highly recommended for legitimate brand owners. Benefits include enhanced brand content (A+ Content), access to Sponsored Brands and Sponsored Display ads, brand analytics, and powerful tools to report intellectual property infringements, which helps protect your listings from hijackers and counterfeiters.


