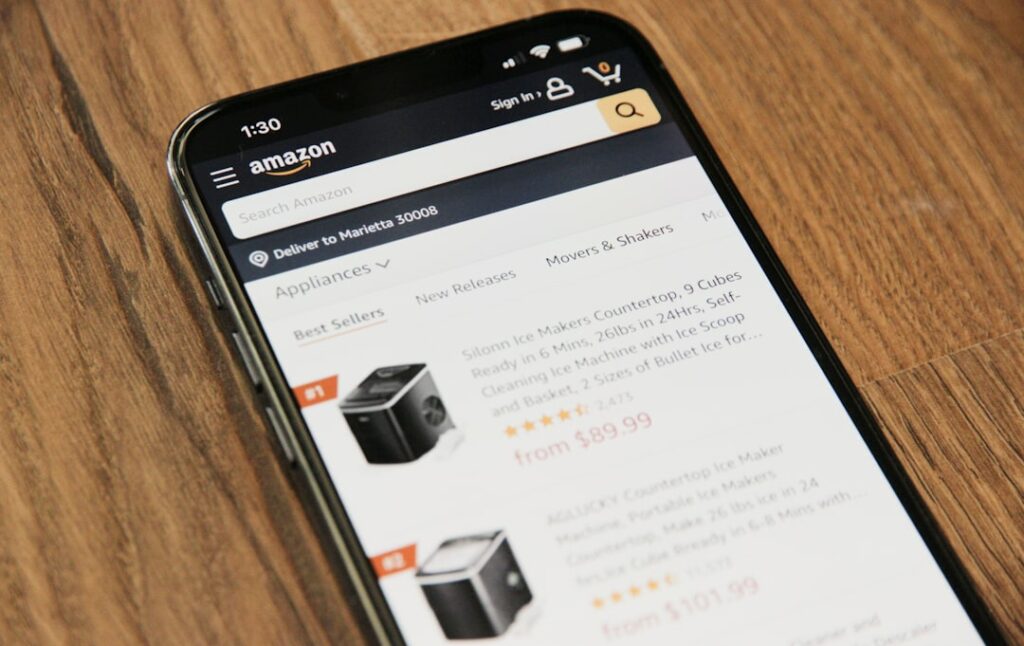
Sell on Amazon: The Ultimate Guide
Step 1: Set Up Your Amazon Seller Account
Choose Your Selling Plan (Individual vs. Professional)
Before you begin, decide which selling plan suits your needs. The Individual plan is suitable for sellers who anticipate selling fewer than 40 units per month, as it charges a $0.99 fee per item sold. The Professional plan, on the other hand, costs $39.99 per month but waives the per-item fee, making it more cost-effective for high-volume sellers. Consider your initial product offerings and projected sales volume to make an informed decision. You can always upgrade or downgrade later if your business needs change.
Register Your Business Information and Payment Details
Navigate to services.amazon.com to begin the registration process. You will need to provide a valid credit card (that can be charged internationally), a phone number, and your tax information. For businesses, have your Employer Identification Number (EIN) or Social Security Number (SSN) ready. Amazon will also require a bank account for disbursements, so ensure you have your routing and account numbers handy. Be prepared for a brief verification process, which may include a postcard with a code sent to your business address or a video call for identity confirmation.
Step 2: List Your Products Effectively
Research and Optimize Product Keywords
Effective keyword research is crucial for product discoverability. Utilize tools like Amazon’s own Brand Analytics (if you’re a registered brand), Helium 10, Jungle Scout, or even Amazon’s search bar auto-suggest feature to identify relevant and high-volume keywords. Focus on long-tail keywords that accurately describe your product and its benefits. Integrate these keywords naturally into your product title, bullet points, product description, and the backend search terms field in Seller Central. Avoid keyword stuffing, as it can negatively impact your listing’s ranking.
Create Compelling Product Pages with High-Quality Images
Your product page is your digital storefront. Craft a clear, concise, and benefit-driven title that includes your main keywords. Use five to seven bullet points to highlight key features, benefits, and common customer questions. Write a detailed product description that tells a story and addresses potential customer concerns. Most importantly, use high-resolution images (at least 1000px on the longest side for zoom functionality) that showcase your product from multiple angles, in use, and demonstrate its value. Include lifestyle images and infographics where appropriate. For brand-registered sellers, utilize A+ Content (Enhanced Brand Content) to further enhance your product page with rich media and detailed descriptions.
Step 3: Manage Inventory and Fulfillment
Understand Amazon FBA (Fulfillment by Amazon) vs. FBM (Fulfillment by Merchant)
Decide whether you will use Amazon’s fulfillment network (FBA) or handle shipping yourself (FBM). FBA involves sending your products to Amazon’s warehouses, where they handle storage, picking, packing, shipping, customer service, and returns. This qualifies your products for Prime shipping, often leading to increased sales. FBM means you are responsible for storing, packing, and shipping orders directly to customers. While FBM offers more control and potentially lower fees for very specific items, FBA typically provides a better customer experience and allows you to scale more easily. Calculate the costs associated with both options based on your product’s size, weight, and sales velocity.
Monitor Inventory Levels and Restock Strategically
Accurate inventory management is vital to avoid stockouts and overstocking. Utilize the Inventory Planning tools in Seller Central to track your current stock levels, sales velocity, and receive restock recommendations. Set up alerts for low stock to ensure you have enough lead time to reorder from your suppliers and ship to Amazon’s fulfillment centers (if using FBA). For FBA, consider Amazon’s inventory performance index (IPI) score, which influences your storage limits. Avoid sending too much inventory at once, especially for new products, to prevent long-term storage fees.
Step 4: Promote and Optimize Your Listings
Utilize Amazon Advertising Options (Sponsored Products, Brands, Display)
Amazon offers various advertising solutions to increase your product’s visibility. Sponsored Products are keyword-targeted ads that appear in search results and on product pages. Sponsored Brands allow brand-registered sellers to promote a collection of products with a custom headline and logo. Sponsored Display ads are interest-based and can reach audiences both on and off Amazon. Start with Sponsored Products campaigns, focusing on automatic targeting to discover new keywords, then move to manual targeting with exact and phrase match types. Monitor your ACoS (Advertising Cost of Sale) and adjust bids and keywords regularly to optimize performance.
Encourage Customer Reviews and Maintain High Seller Performance
Customer reviews are paramount on Amazon. Encourage satisfied customers to leave reviews by sending follow-up emails (within Amazon’s messaging guidelines) or by using the “Request a Review” button in Seller Central. Focus on providing excellent customer service to minimize negative reviews and maintain a high seller rating. Regularly monitor your Seller Central performance metrics, including Order Defect Rate (ODR), Late Shipment Rate, and Valid Tracking Rate. Consistently meeting or exceeding Amazon’s performance targets is crucial for avoiding account suspension and building customer trust.
FAQs
Q1: How long does it take to start selling on Amazon?
A1: The initial account setup can take anywhere from a few hours to a few days, depending on how quickly you can provide the required documentation and pass Amazon’s verification process. Once your account is active, listing a product can take minutes, but optimizing the listing for sales (keyword research, professional images) can take additional time. Overall, you could be ready to sell within a week if you have everything prepared.
Q2: What are the main costs involved in selling on Amazon?
A2: The primary costs include a monthly Professional selling plan subscription ($39.99) or a per-item fee ($0.99 for Individual sellers), referral fees (a percentage of the sale price, typically 8-15% depending on the category), fulfillment fees (for FBA, these include picking, packing, shipping, and storage fees), and advertising costs if you choose to run campaigns. There may also be additional costs for returns, multi-channel fulfillment, or special services.
Q3: Do I need a business license to sell on Amazon?
A3: While Amazon does not explicitly require you to have a formal business license to open a seller account, it is highly recommended to operate as a legitimate business entity. Depending on your location and the products you sell, you may need local, state, or federal business licenses, permits, or tax registrations. It’s best to consult with a legal or tax professional to ensure you are compliant with all regulations.
Q4: How do I handle customer returns and refunds on Amazon?
A4: For FBA orders, Amazon handles the entire return and refund process directly with the customer. They will process the refund and manage the returned item. For FBM orders, you are responsible for processing returns and refunds according to Amazon’s return policy. You will need to provide a return address, and once the item is received, you can issue a refund through Seller Central. Amazon provides specific guidelines for return windows and refund eligibility.


