Step 1: Research and Product Selection
Identify Profitable Niches
Begin by exploring Amazon’s best-seller lists in various categories to understand current trends and demand. Utilize tools like Jungle Scout, Helium 10, or Viral Launch to analyze product data, including sales volume, revenue, competition levels, and average selling price. Look for niches with consistent demand, moderate competition (not oversaturated, but enough to indicate a market), and products that typically sell for $15-$50. This price range often allows for healthy profit margins after FBA fees, shipping, and cost of goods. Avoid highly seasonal products unless you have a specific strategy for managing inventory fluctuations.
Source Potential Products
Once you’ve identified promising niches, start looking for specific products. Alibaba.com is a primary platform for sourcing products directly from manufacturers in China. Use the platform’s search filters to find suppliers with good trade assurance, high supplier ratings, and positive reviews. Request multiple quotes for the same product from different suppliers to compare pricing, minimum order quantities (MOQs), and production lead times. Always ask for samples before placing a large order to verify product quality, materials, and functionality. Consider product differentiation—how can your product stand out from competitors (e.g., better quality, unique features, bundled accessories, superior branding)?
Step 2: Set Up Your Amazon Seller Account
Register on Amazon Seller Central
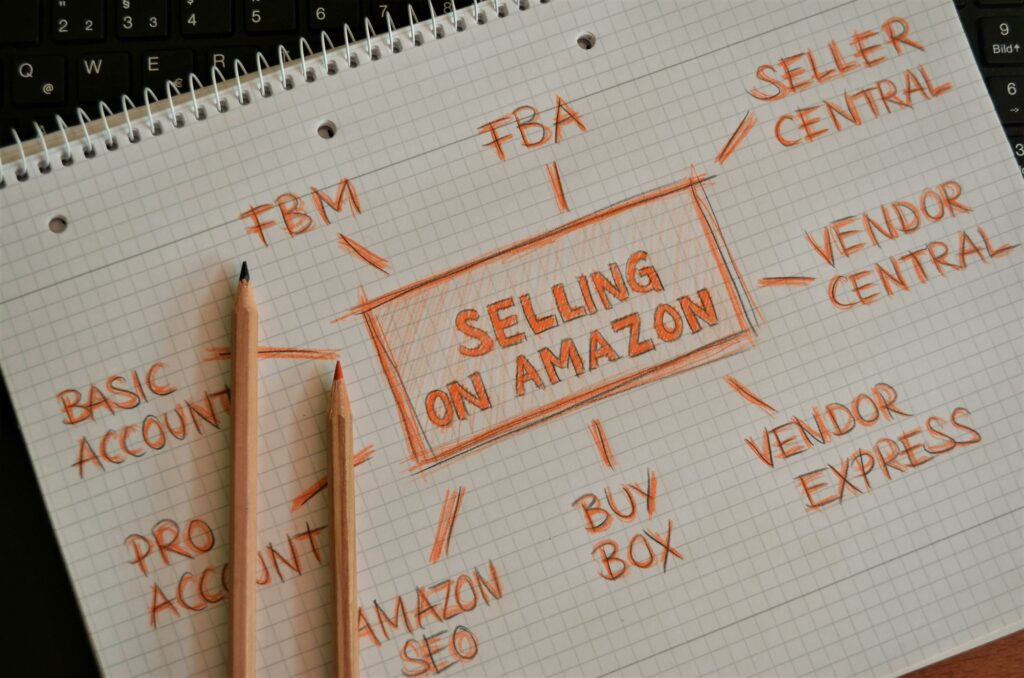
Navigate to sellercentral.amazon.com and click “Sign Up.” You will need to provide a valid credit card, a bank account for deposits, a government-issued identification (e.g., passport or driver’s license), and tax information (e.g., EIN for a business, or SSN for an individual). Choose between an Individual selling plan ($0.99 per item sold) or a Professional selling plan ($39.99 per month). The Professional plan is recommended for FBA sellers due to access to advanced tools, bulk listing options, and eligibility for the Buy Box. Ensure all information matches your official documents exactly to avoid delays in account verification.
Configure Account Settings and Business Information
After registration, log into Seller Central and complete your business profile. Go to “Settings” (top right corner) and then “Account Info.” Fill in all required sections, including “Business Information,” “Payment Information” (deposit and charge methods), and “Tax Information” (complete the tax interview). Set up your “Shipping Settings” even though Amazon FBA handles fulfillment, as this might be relevant for return addresses. Familiarize yourself with the “Notifications Preferences” to ensure you receive important updates from Amazon. It’s crucial to comply with all Amazon policies and guidelines from the start to maintain a healthy account status.
Step 3: Prepare Your Products for FBA
Understand Amazon FBA Requirements
Before shipping, thoroughly review Amazon’s FBA packaging and prep requirements. Products must be properly prepped (e.g., poly-bagged, bubble-wrapped), labeled with FNSKU (Fulfillment Network Stock Keeping Unit) labels, and appropriately boxed. Fragile items need extra protection. Items with sharp edges must be capped. Liquids must be double-sealed. All products must have scannable barcodes. Failure to comply can result in rejection at the fulfillment center, additional fees, or disposal of your inventory. Download and print the FNSKU labels directly from your Seller Central account for each product variation.
Create Product Listings and Shipping Plans
In Seller Central, go to “Inventory” -> “Add a Product.” Create new product listings by providing essential details: product title, brand name, manufacturer, product description, bullet points highlighting key features, and high-quality images. Ensure your product title is keyword-rich and descriptive. Select the appropriate category and browse nodes. Once your listing is complete, convert it to “Fulfilled by Amazon.” Then, create a shipping plan by specifying the quantity of each product you’re sending, the shipping method (small parcel delivery or LTL), and the origin address. Amazon will then assign your inventory to one or more fulfillment centers. Print the Amazon shipping labels (carton labels) generated at the end of the shipping plan creation process.
Step 4: Launch and Optimize Your Amazon FBA Business
Ship Inventory to Amazon Warehouses
Once your shipping plan is finalized and labels are printed, arrange for shipment to Amazon’s designated fulfillment centers. For small quantities, use standard parcel carriers like UPS, FedEx, or USPS. For larger quantities (multiple pallets), consider using an LTL (Less Than Truckload) freight carrier, which can often be more cost-effective. Ensure each box is correctly labeled with both the FNSKU labels on individual products and the Amazon shipping labels on the outside of the cartons. Track your shipments diligently until they are received and checked in by Amazon. It can take a few days for inventory to become available for sale after delivery.
Monitor Performance and Optimize Listings
Regularly monitor your sales performance, inventory levels, and customer feedback through your Seller Central dashboard. Use the “Business Reports” to track sales trends, conversion rates, and traffic. Pay close attention to your “Inventory Performance Index (IPI)” score to ensure healthy inventory management. Actively manage customer reviews and questions, responding promptly and professionally. Continuously optimize your product listings by refining keywords, improving product images, A/B testing different descriptions, and adjusting pricing based on competitor activity and market demand. Consider running Amazon PPC (Pay-Per-Click) advertising campaigns to increase visibility and drive initial sales, especially for new products.
FAQs
Q1: How much money do I need to start Amazon FBA?
A1: The initial investment can vary significantly, but a realistic budget for a beginner typically ranges from $2,500 to $7,000. This covers product sourcing (inventory), shipping costs, FBA fees, Amazon Professional Seller account fees, marketing (PPC), and potentially product photography or listing optimization services. Starting with a smaller, low-cost product can help reduce the initial capital required.
Q2: How long does it take to see profit with Amazon FBA?
A2: The timeframe to become profitable with Amazon FBA is highly variable. Some sellers might see profit within 3-6 months if they have a strong product, effective marketing, and efficient inventory management. Others may take longer, especially if they face unexpected costs, intense competition, or slow-moving inventory. Consistent optimization and learning are key to accelerating profitability.
Q3: Do I need a business license to sell on Amazon FBA?
A3: While Amazon does not strictly require a formal business license to open a seller account (you can register as an individual), it is highly recommended to operate as a legal business entity (e.g., LLC, sole proprietorship) for tax purposes, liability protection, and to maintain a professional image. Check your local and state regulations for specific business license requirements.
Q4: What are the biggest challenges for new Amazon FBA sellers?
A4: New FBA sellers often face challenges such as finding truly profitable products amidst high competition, managing inventory effectively to avoid stockouts or overstocking, dealing with unexpected FBA fees, navigating Amazon’s complex policies and guidelines, and effectively marketing their products to stand out. Continuous learning, adaptability, and a willingness to invest time in research and optimization are crucial for overcoming these hurdles.


